|
|
Starting the Admin Console | User Interface Components | |
| Logging In |
|
Viewing and Managing Logs | |
| User Interface Structure |
This section describes how to start the image server from the image server or a remote system, and describes how to change your browser's language setting if necessary.
To start the admin console from the image server, start the Dell OpenManage systems management software solution from the Server Administrator desktop icon and then select Remote Install from the Application drop-down menu.
| NOTE: If you have just rebooted the image server, you must wait two minutes between the time that you start Remote Install and the time that you can log in. |
Enter the following Web address in your browser:
https://IPaddress:1311
where IPaddress is the IP address of the image server.
To ensure that the Remote Install interface displays properly, ensure that the Web browser that you use to view Remote Install uses the English language setting. (The Remote Install interface supports only English, although the system may be installed on a non-English operating system. See "New Operating System Languages Supported" for more information.)
In your Internet Explorer window, click Tools→ Internet Options. The Internet Options dialog box appears. From the General tab, click Languages. The Languages dialog box appears. Use the buttons in this dialog box to add your desired language and move it to the top of the list.
In your Netscape Navigator window, click Edit→ Preferences. The Preferences dialog box appears. In the list of options, click Navigator to display suboptions. Click Languages under Navigator. Use the buttons in the dialog box to add your desired language and move it to the top of the list.
To use Remote Install, you must have Administrator privileges in the operating system of the image server. The default user for the application is "Administrator." To add a new user to the image server, you must create a user with administrative privileges in the operating system of the image server.
To log in to Remote Install on the local system, perform the following steps:
The Remote Install user interface consists of the following components:
Figure 1. Remote Install User Interface Layout
When you click (select) an item in the component tree, the subnavigation bar displays a row of action tabs, each representing an allowable operation associated with the item. A tab in the subnavigation bar might be associated with several menu items on the lower subnavigation bar to further differentiate the operations. Table 1 shows a collection of the components and their associated action tabs.
Table 1. Remote Install User Interface Map
| Component | Tab in Subnavigation Bar | Menu Item in Lower Subnavigation Bar | Functions |
| Systems | Properties | List | Lists target systems managed by Remote Install. |
| Capture | Capture | Captures an image from a target system. | |
| Deploy | Deployment | Deploys an image to one or multiple target systems. | |
| Predeployment | Registers a virtual system with Remote Install; associates an image and configuration to a Service Tag for automatic deployment upon physical installation of the virtual system. | ||
| Configure | Configure | Configures a target system discovered by the image server. | |
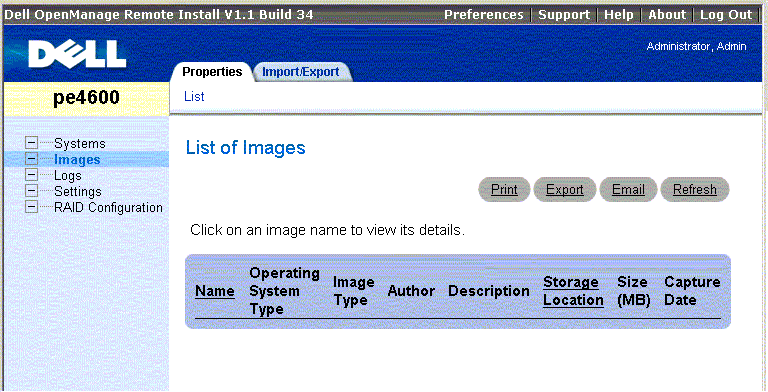
| Images | Properties | List | Lists images in the image server. |
| Import/Export | Import | Imports an image from a file to the image server. | |
| Export | Exports an image from the image server to a file. | ||
| Logs | Properties | Activity | Displays, filters, sorts, and exports the activity log for managed target systems. |
| Application | Exports a detailed information log used for debugging purposes. | ||
| Command | Displays, prints, and exports a log that tracks commands issued through the Dell OpenManage systems management software solution interface and the users that performed those commands. | ||
| Settings | DHCP | List | Lists DHCP scopes. |
| Storage | List | Lists Storages used for storing images and update packages. | |
| RAID Configuration | Properties | List | Lists the RAID configuration packages. |
| Import/Export | Import | Imports a RAID configuration package to the image server. | |
| Export | Exports a RAID configuration package from the image server. | ||
| Configure RAID | Configure RAID | Installs a RAID configuration to a target system. |
Remote Install provides the following three logs for viewing and exporting:
You can also view debug logs, as files; see "Log Files" for more information.